2011's Fab Five

Whew!  Long time no see!  I guess that's what Christmas vacay will do.

But much more on that later.

Right now it's time to look back at our top 5 posts from the past year.

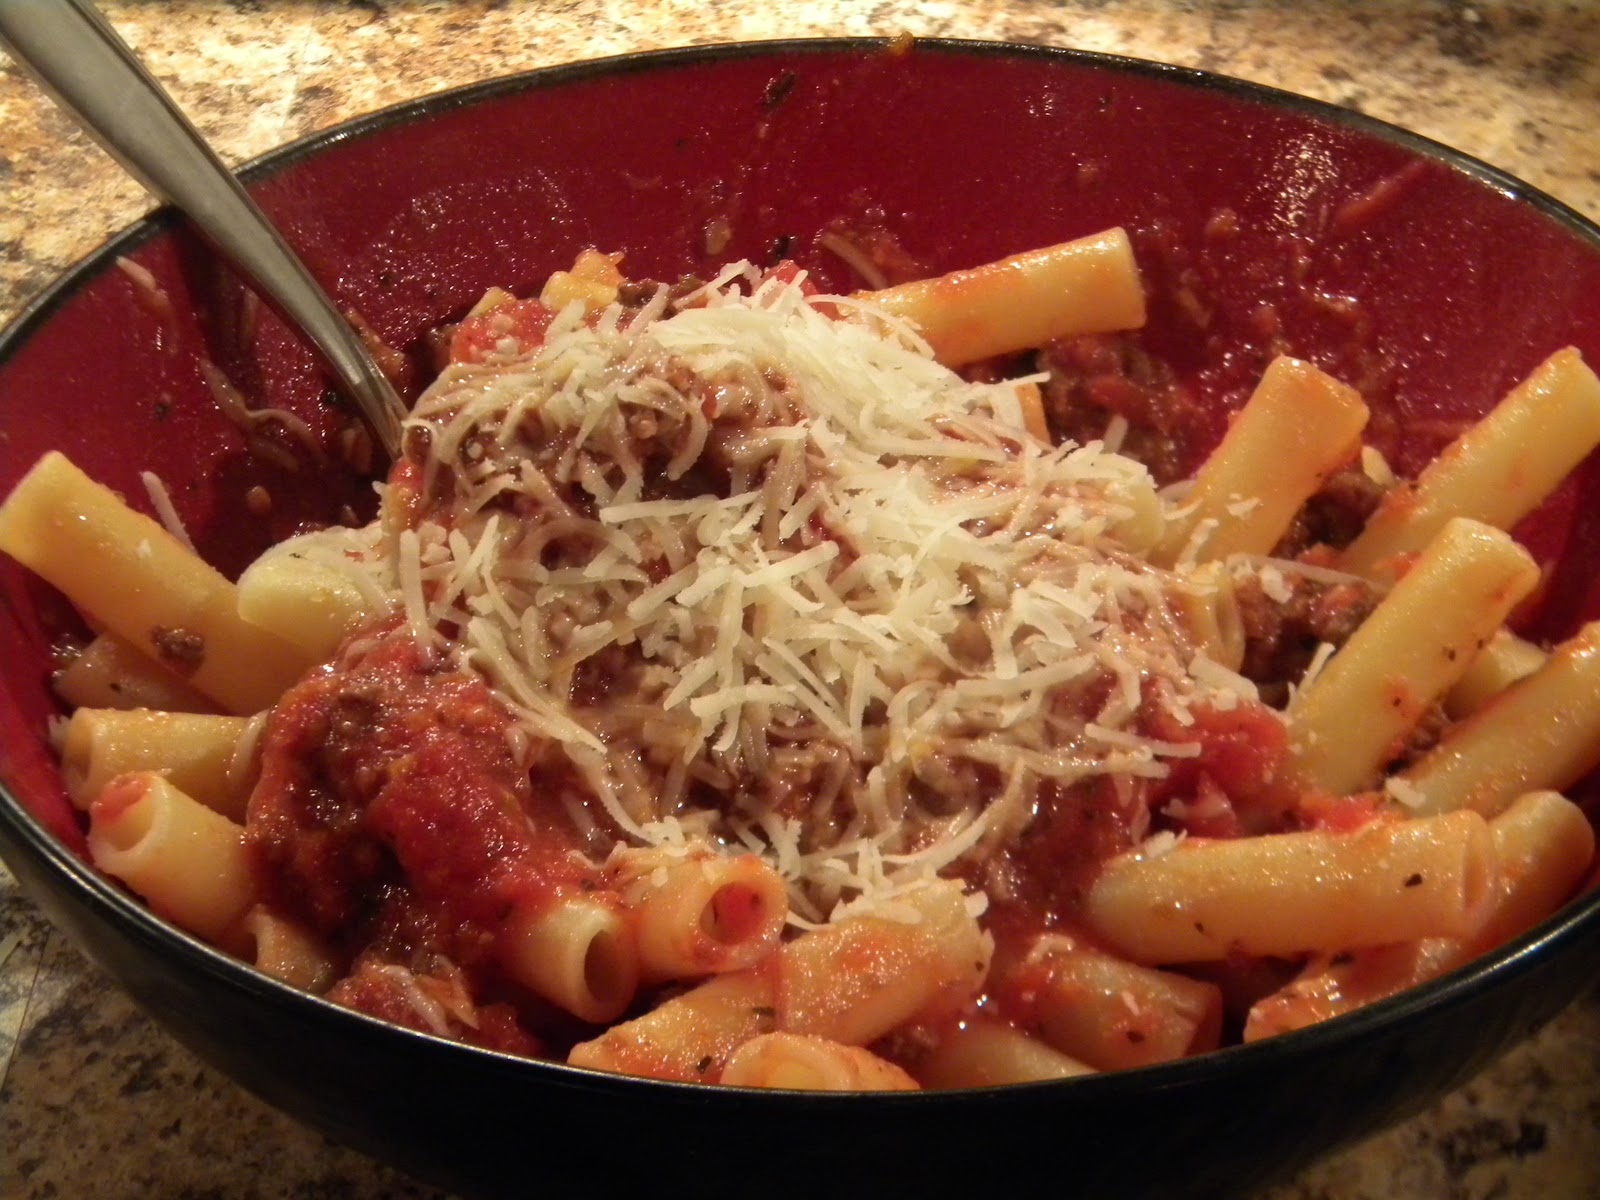
#5 - Ring Around the Chicken Salad

Definitely still one of our go-to meals.  I actually just put it on our menu tonight!


#4 - Confessions of a Couch Potato

This one made me smile.  I always tell JP a sure-fire way to get people interested is to talk in intimate detail about how unhealthy you are.  And sure enough, thanks to all you nosy peeps out there, here it is at #4.  I will say, I don't love running yet.  Before I loathed it and now I actually kinda like it...even though it's been a little too long since I've last done it.


#3 - No-Sew Ruffle Tree Skirt

My oh my, how I love this project.  I think I'll weep tears of sorrow when I have to pack away our tree skirt.  I may just leave it out and find new ways to use it year round.  Maybe a new skirt for myself?  Or perhaps one of those rugs you put on the floor around your toilet?  And then I could make a matching toilet lid cover!  Ruffles all around folks!


#2 - Another Pinterest-ing Project

I had alot of fun with this project.  This was the last BIG project that we did the whole thing together.  JP and I always say DIY projects are good for a marriage.  It's true.


And finally....

Pulling in as our Champion of 2011....

#1 - JP the Pergolar

I have to admit this one really surprised me.  JP is always wanting to write posts about things...like car detailing or about his day at the gun range so he could show everyone this picture:

{to all you moms and dads out there...you're welcome.}

So I told him he could but it could only be 5 sentences long.  I don't know why he never did.

Anyway, he is the sole reason this post is ranked #1, and rightfully so.  He did a wonderful job on it and we still love it!

The Frosting on the Cake

Yesterday I shared my recipe for Nutella frosting and forgot to include how I frosted them.  I like to be fancy like that but I am not a cake designer.  Probably never will be.  So when I saw one of these thingies in the baking aisle at Wal-Mart...


...it looked easy enough.

It's called something like EZ Squeeze.  (It was literally hanging right beside the candles, frosting-in-a-tube, and cupcake liners at Wal-Mart...) It comes with 3 different nozzles.  You just fill 'er up, and squeeze it out. I started in the center and worked my way out.

And she's washable.

And it cost $1.00.  Have I mentioned we're cheap frugal?

Nutella Frosting


This frosting contains 1 cup of Nutella.

Need I say more?

You should already be running to your kitchen to make this...because every sane woman has a stash of Nutella.  Right?  Well, I don't always have it...but I should.

Ingredients:
~ 1 cup confectioners' sugar
~ 1 cup Nutella
~ 5 tablespoons unsalted butter, at room temperature
~ 1 teaspoon vanilla extract
~ 1/4 teaspoon salt
~ 1/3 cup heavy cream

Mix confectioners' sugar, Nutella, butter, vanilla, and salt on medium speed until creamy, scraping the sides of the bowl occasionally.  Add the cream and mix until the mixture is light and smooth.

I used this frosting on top of mini yellow cupcakes (I bought Betty Crocker brand) and they were the yummiest cupcakes ever.

I know I shouldn't toot my own horn but...

TOOT TOOT BABY! 


No-Sew Ruffle Tree Skirt


I am in love with this tree skirt!  I've been seeing them around Pinterest and finally sat down to make one.  From what I've read on other blogs, if you just sit down and work until it's finished, it takes somewhere around 4-5 hours.  I did not time myself because I knew I'd be working on it while our daughter was awake.  I started on it Friday evening around 5:00 and it was finished at lunchtime on Saturday.  {Karlie and I took lots of book reading/ball throwing/chocolate milk making/booty dancing breaks...all of which I highly recommend during this project}

WARNING:  While this was an incredibly easy project, it was tedious.  EX.TREME.LY. tedious.  Some may experience thoughts like:
"This is taking FORever."
"I'm running out of material..."
"I don't think I have enough glue sticks."
"My back is KILLING me!"
"No, literally.  I think I'm dying from back pain..."
"If those dogs shed one more hair on my ruffles..."
"Ugh....."
"Do you think two rows of ruffles is enough?"
All of these thoughts are normal.  Don't give up!  Some All of those thoughts may have come out of my mouth at some point.  Just take lots of breaks and try to have fun!  It will be beautiful!

Here's what I used:
~ 1 canvas dropcloth from Lowe's or Home Depot (you could also use a tree skirt you already have)
~ 3 yards white material (I'm pretty sure it was muslin)
~ 3 yards tan material (I'm not sure what it is exactly but it was sitting on the same shelf as the burlap at Joann's)
~ rotary cutter (MUCH easier/faster than using scissors)
~ glue gun and lots of glue sticks
~ something very entertaining

1.  Fold your drop cloth in half, and then in half again so it is quartered.
2.  Fold your square in half to form a triangle.
3.  My husband likes to be exact so we used a tape measure and Sharpie as a compass to draw the arc where we would cut.
4.  Cut that line and another smaller arc down at the point.


You should end up with a circle...**


**I was really hoping to be able to tell you which side of the triangle to cut but somehow we failed miserably and ended up with this....


So I had to whip out my sewing machine to sew the two half-circles together. (I could have also used hot glue)  

Begin cutting your strips of material.  The length doesn't really matter but the longer the better (then you won't have to keep reaching for strips) but they need to be 3 inches wide.


Now set up for the long haul.  This is what my work area looked like:


Using a little bit of glue at a time (it dries pretty quickly) use your strips to make ruffles.  My advice would be to make little ruffles.  I started out making the ruffles very tall but it uses more material and takes a little bit longer.


So if you make the ruffles shorter, it goes a little quicker and doesn't use as much material.  Anna phrased it: "Less ruffle, less fabric being used."  Something like that.  She's very wise.


Keep going and going and going, alternating fabric between rows.  Saturday morning I moved to the kitchen table because hunching over on the floor was taking a toll on my back.

A couple hours later, this is what I had....


I L-O-V-E it!  So much.  Or as Karlie says "doe mush."


Oreo Stuffed Chocolate Chip Cookies

* Courtesy of veryculinary.com


Ingredients:
~ 1 cup (2 sticks) softened butter
~ 3/4 cup packed light brown sugar
~ 1 cup sugar
~ 2 large eggs
~ 1 tablespoon vanilla extract
~ 3 1/2 cups flour
~ 1 teaspoon salt
~ 1 teaspoon baking soda
~ 2 cups semi-sweet chocolate chips
~ 1 package of Oreos (I used Publix brand but didn't love them...no offense Publix, or Kalie)

Preheat your oven to 350 degrees.


In a large bowl, mix butter, brown sugar, and granulated sugar together until well combined.  Beat in eggs and vanilla.
In a medium bowl mix the flour, salt, and baking soda together.  Slowly add this to the wet ingredients.  Then add the chocolate chips.
Take one ball of cookie dough... 

Put an oreo on top and smoosh it down...

Put another ball of cookie dough on top...

Then seal the edges.

Place cookies on a parchment lined baking sheet and bake for 13 minutes or until edges start to turn golden brown.  Let them cool for a few minutes before transferring to a cooling rack.


I got the recipe and plate idea from Pinterest...who's surprised?
Enjoy!

Bucket List Update


37.  Go watch UGA at the SEC Championship!!!


I would also like to own a pair of these this winter....

Bucket List

Everyone should have a bucket list right?  The beauty of a bucket list is you can change it anytime you like.  I hope to cross alot off and even add some more.  Well, here's mine.

1.     Sky Dive
2.     Save someone’s life
3.     Earn a teaching degree (preferably from University of Georgia)
4.     Learn to harmonize
5.     Help someone deliver a baby
6.     Walk on a college football field, at night, with the stadium lights on (again, preferably at UGA)
7.     Play in an orchestra again
8.     Learn to play the guitar
9.     Punch someone
10.   Go on a cruise
11.   Hike in Montana
12.   Niagara Falls
13.   Grand Canyon
14.   Mt. Rushmore
15.   Ride a motorcycle by myself
16.   Spend a week in Washington D.C.
17.   Visit Europe (ideally for a couple of months)
18.   Work at Joann’s
19.   Steal La Reunion’s potato salad recipe
20.   Win trivia night
21.   Run an 8K
22.   Run a half-marathon
23.   Run a full marathon
24.   Perform a certain pop song in front of a stadium of thousands (I’ve h ad the same dream about this three times…I brought people to their feet {in applause, not to leave})
25.  Be a guest star on SNL and scream “Live from New York, iiiiiiit’s Saturday Niiiiight!!!”
26.  Go parasailing
27.  Get better at water skiing 
28.  Fly first class
29.  New Year's Eve in Times Square
30.  Spend the night in Cinderella's Castle
31.  Work at Disney World as Belle
32.  Ride in a hot air balloon
33.  Give Christmas to a less-fortunate kid
34.  Do 100 "man push-ups"
35.  Be able to run in the sand at the beach
36.  Stay at the ME Resort in Cabo or Cancun
37.  Go watch UGA at the SEC Championship
Drive a jet-ski
Run a 5K
See the Hollywood Sign
Buy a house
Have a baby
Go over 100 mph

      OK, so #24, #25, and #31 will probably remain dreams, but every bucket list should have some crazy things on them.  Everything else seems pretty achievable.  So, if you have any connections that would help me cross some things off, be sure to keep me on the D.L.

Bolognese Sauce

*Courtesy of The Pioneer Woman via Pinterest.


Ingredients:
~ 1/2 cup olive oil
~ 1 1/2 cup grated carrots
~ 1 large red onion, diced
~ 2 pounds ground beef
~ 2 tablespoons dried oregano
~ 2 tablespoons dried basil
~ 1 can (6 oz.) tomato paste
~ 5 cloves garlic, minced
~ 1 cup red cooking wine
~ 2 tablespoons Worcestershire sauce
~ 2 cans (28 oz.) whole tomatoes (I use 2 large cans of crushed tomatoes)
~ 1 cup milk
~ salt and pepper, to taste
~ fresh parmesan cheese


Heat oil in a large Dutch oven or skillet over medium heat. Add grated carrots and onions and cook for a few minutes. 

Make a well in the center of the mixture.

Then add in the ground beef. Cook for a few minutes until brown, gradually stirring it into the carrot mixture.  Throw in oregano and basil.  When the meat is browned and combined with other ingredients, make another well. Add tomato paste and let it heat. 

Add garlic and stir to combine.  Make a well in the center of the mixture and add red wine. Stir together. 

Add Worcestershire and stir. Add canned tomatoes. Finally, pour in milk, stir, and let simmer for 30 minutes to 2 hours—however long you need.

Serve with pasta and a generous sprinkling of Parmesan cheese.

No Bake Energy Bites

*Courtesy of Mrs. Sharon, who found it on Pinterest.


This is the recipe that I used from Mrs. Sharon.  The link to the actual recipe gives other ideas for mix-ins.

Ingredients:
~ 1 cup oatmeal
~ 1/2 cup ground flaxseed
~ 1/2 cup almond butter
~ 1/3 cup honey
~ 1 teaspoon vanilla
~ 1/2 cup semi-sweet mini chocolate chips
~ 1/2 cup chopped walnuts

1.  Mix oats and flaxseed together.
2.  Mix almond butter, honey, and vanilla together and pour on top of oats mixture.
3.  Add chocolate chips and walnuts.  Mix all ingredients until well blended.
4.  Roll into balls and store them in your refrigerator to keep them firm.

These are so good and good for you!  Even Karlie can't get enough!

Blitz Cleaning


It's what we do.

Every night.

{...well, almost every night.  We've slacked off lately because of a clumsy injury on my part.  We'll be back to blitzing in no time.}

Blitz cleaning happens after we lay Karlie down for the night.  We say prayers, give tons of hugs and kisses, and the blitzing begins.  All we do is set our kitchen timer (which I love by the way.  It's orange and it's from Anthropologie and I smile every time I turn its little dial) for 10-15 minutes and then we clean like crazy.

We usually do a 10 minute blitz but the pictures below are from a 15 minute blitz.  We set the timer for 10 minutes but the time flew by and we weren't ready to quit!  So we added 5 more minutes...see what blitzing will do to you?!

Behold!  The power of 15 minutes....


As we clean, anything we find that belongs in Karlie's room is piled neatly by the door and put away the next morning.  

 And that is what we call blitz cleaning. 

 I'm always looking for quick and easy cleaning tips so if you have one you love to do, puh-leez, do tell me about it!

To Die For Blueberry Muffins

*Courtesy of allrecipes.com


Ingredients:
For the muffins:
~ 1 1/2 cups all-purpose flour
~ 3/4 cup white sugar
~ 1/2 teaspoon salt
~ 2 teaspoons baking powder
~ 1/3 cup vegetable oil
~ 1 egg
~ 1/3 cup milk
~ 1 cup fresh blueberries

For the crumb topping:
~ 1/2 cup white sugar
~ 1/3 cup all-purpose flour
~ 1/4 cup butter, cubed (mine is usually room temperature)
~ 1 1/2 teaspoons ground cinnamon

1.  Preheat oven to 400 degrees.  Grease muffin cups or use muffin liners.
2.  Muffins: Combine flour, sugar, salt, and baking powder.  Pour vegetable oil into a 1-cup measuring cup and then add the egg and enough milk to fill to the 1-cup mark.  Mix this into the flour mixture.  Fold in the blueberries.
3.  Pour muffin mix into the muffin cups and set aside.
4.  Crumb Topping: Using a fork, mix sugar, flour, butter, and cinnamon in a bowl.  Sprinkle this mixture over the muffin batter before baking.
5.  Bake for 20-25 minutes, until done.


Another Pinterest-ing Project

Would you like to guess where I got the idea for this next project?  If you guessed Pinterest, you guessed right!  This pin to be exact.

We did this project awhile ago and I just have not gotten around to sharing it.  So when I heard that Katie over at Bower Power and Sherry over at Young House Love were doing another round of their Pinterest Challenge, I knew I wanted to participate this time.

All you need for this project is:
~ a canvas (Fortunately we had recently grown to dislike the enormous 4'x4' canvas that was hanging in our living room so we decided to give it a little facelift.)
~ letters (We used two different kinds: the smaller letters are chipboard letters.  We found ours in the scrapbook section at Joann's.  The larger letters were from Hobby Lobby, 50% off!)
~ white spray paint
~ acrylic paint, any color.  The bolder the better. (This was how we put our own little spin on the project.)


If you're using a canvas you already have, make sure you wipe it clean of dust.

Pick your phrase!  For ours, we chose a phrase from our wedding verse, Song of Solomon 8:7.  
 Then using your letters, decide where you want it and then spell it out.  The chipboard letters have sticky squares on the back of them so they were easy to stick down.  For the larger letters we used a hot glue gun.


(I've included a picture of the chipboard letters. I had the hardest 
time finding them because I didn't know what they looked like!)


Then start spraying your white spray paint.  
Because our canvas was so large it took several coats (it could actually probably use another coat.)  
Just keep spraying until you're satisfied that it's evenly coated.

Now here's where that acrylic paint comes into play.
Using the paint and a brush, paint the side edges of the canvas.  
This part was the most tedious and took the longest, and we had 3 people working on it.
Boy, oh boy, do I love that pop of color!


Now I have to admit, when we got home and hung it back up, I didn't love it.  It was hard to go from seeing something dark on the wall to seeing something so stark white.  But it has grown on me.  We're slowly repainting our house (changing the color scheme) so I think the new color will look great behind it!


P.S. - If you want to see a couple other things I have done (inspired by Pinterest) peek over at the right side of the page and click on "Pinterest" under the words screaming "LOOKING FOR SOMETHING???"  
I highly recommend the homemade Febreze!