
Instead I want to share this little article that a friend shared on Facebook that made me laugh.
Now let me say this:
JP and I do not know what a frat party is like
However.
We certainly know what it's like living with a toddler. Especially recently. Karlie has certainly grown quite the little personality and makes us laugh several times a day.
Why having a toddler is
1. THERE ARE HALF-FULL, BRIGHTLY-COLORED PLASTIC CUPS ON THE FLOOR IN EVERY ROOM. THREE ARE IN THE BATHTUB.
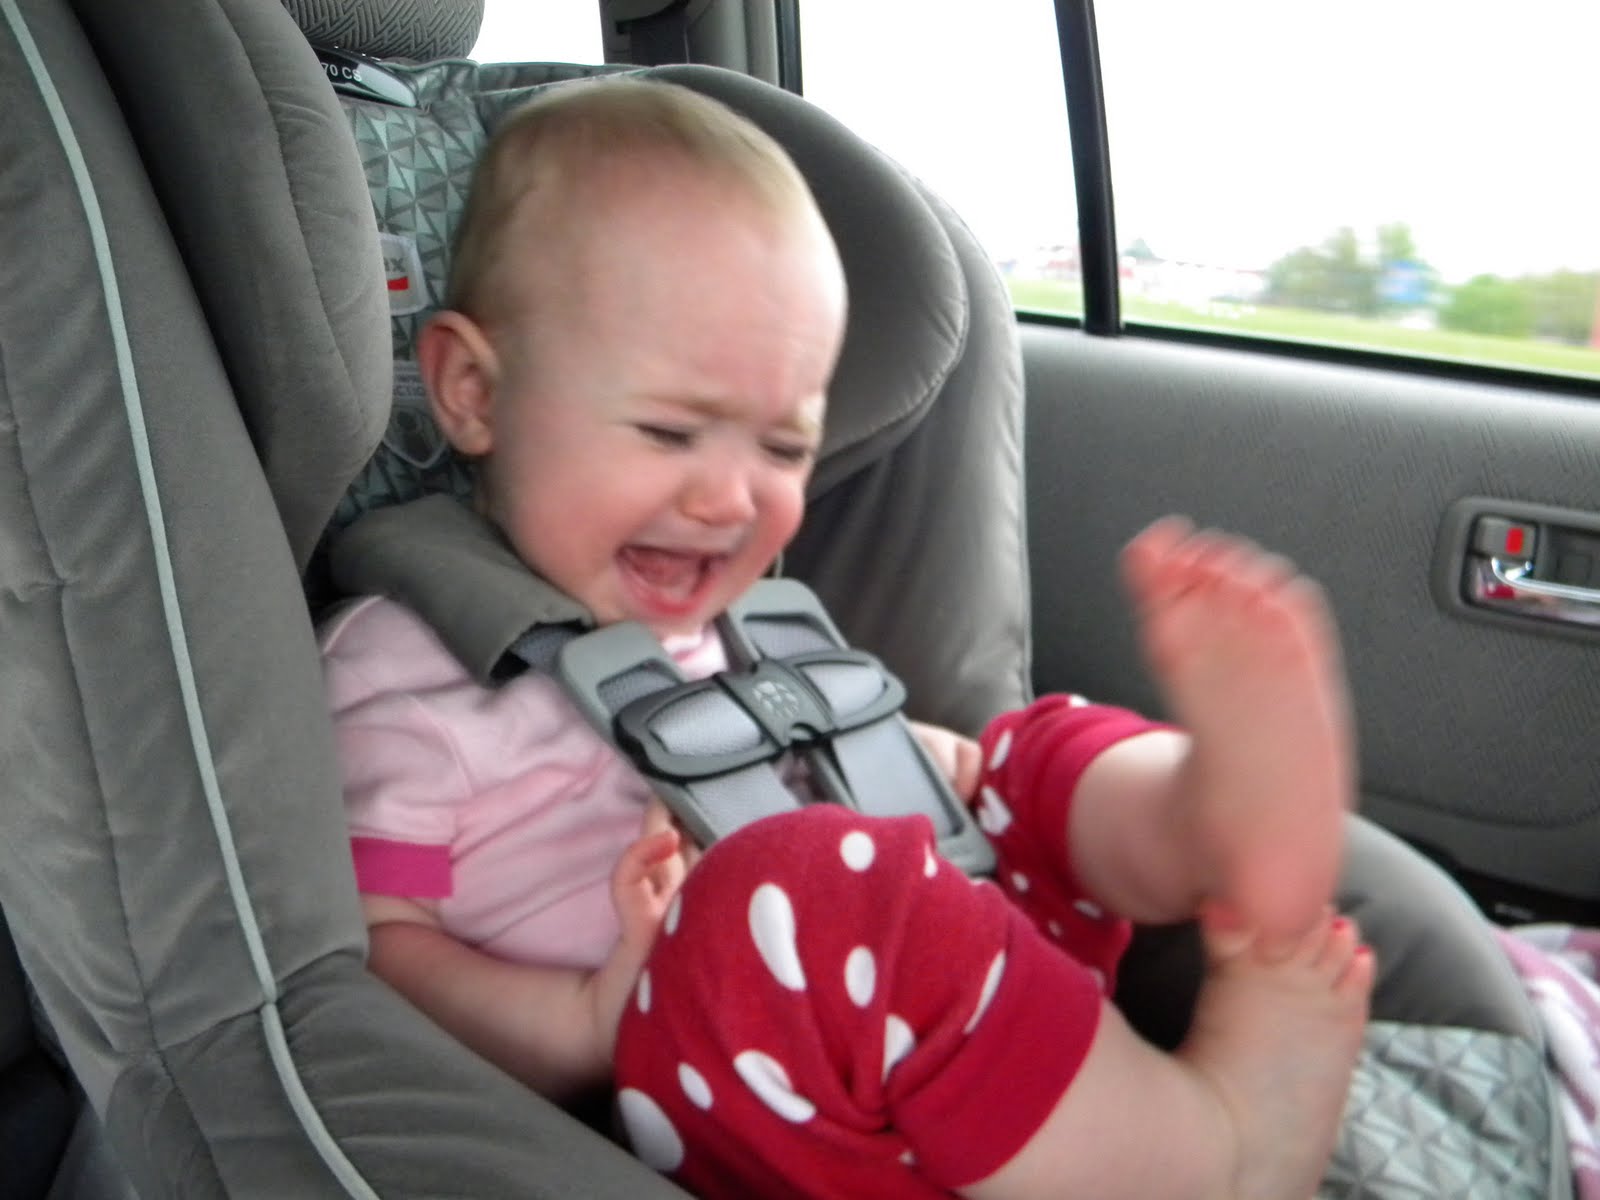
2. THERE'S ALWAYS THAT ONE GIRL,
BAWLING HER EYES OUT IN A CORNER.

3. IT'S BEST NOT TO ASSUME THAT THE PERSON CLOSEST TO YOU HAS ANY CONTROL OVER THEIR DIGESTIVE FUNCTION.
4. YOU SNEAK OFF TO THE BATHROOM KNOWING THAT AS SOON AS YOU SIT DOWN, SOMEONE'S GOING TO START BANGING ON THE DOOR.
5. PROBABLY 80% OF THE STAINS ON THE
FURNITURE CONTAIN DNA.
6. YOU'VE GOT SOMEONE IN YOUR FACE AT
3 A.M. LOOKING FOR A DRINK.
7. THERE'S DEFINITELY GOING TO BE A FIGHT.
8. YOU'RE NOT SURE WHETHER ANYTHING YOU'RE DOING IS RIGHT, YOU JUST HOPE IT WON'T GET YOU ARRESTED.
9. THERE ARE CRUMPLED-UP UNDERPANTS EVERYWHERE.
10. YOU WAKE UP WONDERING EXACTLY HOW AND WHEN THE PERSON IN BED WITH YOU GOT THERE.
11. YOU HAVE A TV THEME SONG STUCK IN YOUR HEAD, AND WHEN YOU START SINGING IT EVERYONE JOINS IN.
12. SOMETIME IN THE MIDDLE OF THE NIGHT SOMEONE SLURS, "I WANT MY MOMMY."
13. YOU ARE SUBJECTED TO THE SAME STORY 20 TIMES.
THE SAME STORY 20 TIMES.
GOING ON AT YOUR PLACE.
16. AT LEAST ONE PERSON IS LYING ON THE FLOOR, EITHER FACE UP OR FACE DOWN, SINGING AT THE TOP OF THEIR LUNGS
17. OFTEN, FOR NO REASON, SOMEONE LAUGHS UNCONTROLLABLY FOR MINUTES ON END.
18. PEOPLE CAN'T CLIMB THE STAIRS
WITHOUT USING THEIR HANDS.
19. NO ONE WALKS IN A STRAIGHT LINE
AND THEY RANDOMLY FALL DOWN.
20. THERE ARE ALWAYS FIGHTS THAT NEED TO BE BROKEN UP. AND ARE IMMEDIATELY FOLLOWED BY "I LOVE YOU, BRO."
21. TRY AS YOU MIGHT, YOU CANNOT GET PEOPLE TO STOP DANCING ON THE FURNITURE.
22. SPINNING AROUND AND FLAPPING YOUR
ARMS COUNTS AS DANCING.
23. AT LEAST ONE PERSON WILL BE DANCING
AROUND TO IMAGINARY MUSIC.
24. AT ANY TIME THERE IS A CHANCE OF SOMEONE RUNNING NUDE THROUGH THE HOUSE.
25. WHEN THE INSIDE GETS TOO BAD, JUST HEAD OUTSIDE!
Why having a toddler is
like being at a frat party
1. THERE ARE HALF-FULL, BRIGHTLY-COLORED PLASTIC CUPS ON THE FLOOR IN EVERY ROOM. THREE ARE IN THE BATHTUB.
2. THERE'S ALWAYS THAT ONE GIRL,
BAWLING HER EYES OUT IN A CORNER.
3. IT'S BEST NOT TO ASSUME THAT THE PERSON CLOSEST TO YOU HAS ANY CONTROL OVER THEIR DIGESTIVE FUNCTION.
4. YOU SNEAK OFF TO THE BATHROOM KNOWING THAT AS SOON AS YOU SIT DOWN, SOMEONE'S GOING TO START BANGING ON THE DOOR.
5. PROBABLY 80% OF THE STAINS ON THE
FURNITURE CONTAIN DNA.
6. YOU'VE GOT SOMEONE IN YOUR FACE AT
3 A.M. LOOKING FOR A DRINK.
7. THERE'S DEFINITELY GOING TO BE A FIGHT.
8. YOU'RE NOT SURE WHETHER ANYTHING YOU'RE DOING IS RIGHT, YOU JUST HOPE IT WON'T GET YOU ARRESTED.
9. THERE ARE CRUMPLED-UP UNDERPANTS EVERYWHERE.
10. YOU WAKE UP WONDERING EXACTLY HOW AND WHEN THE PERSON IN BED WITH YOU GOT THERE.
11. YOU HAVE A TV THEME SONG STUCK IN YOUR HEAD, AND WHEN YOU START SINGING IT EVERYONE JOINS IN.
12. SOMETIME IN THE MIDDLE OF THE NIGHT SOMEONE SLURS, "I WANT MY MOMMY."
13. YOU ARE SUBJECTED TO THE SAME STORY 20 TIMES.
12. SOMETIME IN THE MIDDLE OF THE NIGHT SOMEONE SLURS, "I WANT MY MOMMY."
13. YOU ARE SUBJECTED TO THE SAME STORY 20 TIMES.
14. YOU REALIZE YOU ARE THE ONE TELLING
THE SAME STORY 20 TIMES.
THE SAME STORY 20 TIMES.
15. YOU LIE TO YOUR PARENTS ABOUT WHAT'S
GOING ON AT YOUR PLACE.
GOING ON AT YOUR PLACE.
16. AT LEAST ONE PERSON IS LYING ON THE FLOOR, EITHER FACE UP OR FACE DOWN, SINGING AT THE TOP OF THEIR LUNGS
17. OFTEN, FOR NO REASON, SOMEONE LAUGHS UNCONTROLLABLY FOR MINUTES ON END.
18. PEOPLE CAN'T CLIMB THE STAIRS
WITHOUT USING THEIR HANDS.
WITHOUT USING THEIR HANDS.
19. NO ONE WALKS IN A STRAIGHT LINE
AND THEY RANDOMLY FALL DOWN.
20. THERE ARE ALWAYS FIGHTS THAT NEED TO BE BROKEN UP. AND ARE IMMEDIATELY FOLLOWED BY "I LOVE YOU, BRO."
AND THEY RANDOMLY FALL DOWN.
20. THERE ARE ALWAYS FIGHTS THAT NEED TO BE BROKEN UP. AND ARE IMMEDIATELY FOLLOWED BY "I LOVE YOU, BRO."
21. TRY AS YOU MIGHT, YOU CANNOT GET PEOPLE TO STOP DANCING ON THE FURNITURE.
(The picture's blurry, but she's dancing on her chair)

22. SPINNING AROUND AND FLAPPING YOUR
ARMS COUNTS AS DANCING.
ARMS COUNTS AS DANCING.
23. AT LEAST ONE PERSON WILL BE DANCING
AROUND TO IMAGINARY MUSIC.
AROUND TO IMAGINARY MUSIC.
24. AT ANY TIME THERE IS A CHANCE OF SOMEONE RUNNING NUDE THROUGH THE HOUSE.

25. WHEN THE INSIDE GETS TOO BAD, JUST HEAD OUTSIDE!


